PNG to SVG: The Complete Guide to Converting Images to Vectors
Learn how to convert PNG and JPG images to scalable SVG vector files for free. This step-by-step guide covers vectorization techniques, best practices, and when to use SVG over raster formats.
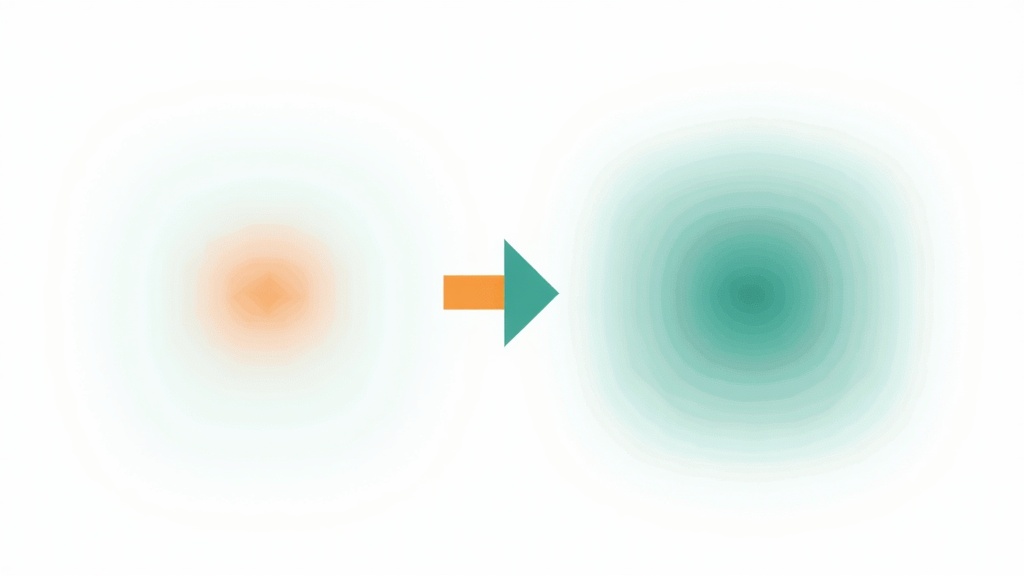
Whether you are a designer, developer, or content creator, you have probably run into the same frustrating problem: you need a scalable version of an image, but all you have is a PNG or JPG file. Zooming in turns it into a blurry mess. Resizing it for a billboard? Forget about it.
The solution is SVG (Scalable Vector Graphics) — a format that stays crisp at any size. In this guide, we will walk you through everything you need to know about converting raster images to SVG vectors, including when it makes sense, how the technology works, and how to get the best results.
What Is the Difference Between PNG and SVG?
Before diving into conversion, it helps to understand what makes these formats fundamentally different:
PNG (Portable Network Graphics) is a raster format. It stores your image as a grid of colored pixels. At its native resolution, it looks great. But scale it up and those pixels become visible — the dreaded pixelation effect.
SVG (Scalable Vector Graphics) is a vector format. Instead of pixels, it stores mathematical descriptions of shapes: lines, curves, and fills. This means an SVG can scale from a tiny favicon to a highway billboard without losing a single pixel of quality.
Fun fact: SVG files are actually XML-based text files. You can open an SVG in a text editor and see the code that describes every shape and color in the image.
When Should You Convert PNG to SVG?
Vectorization works best for certain types of images. Here are the ideal use cases:
- Logos and brand marks — need to look sharp on business cards and billboards alike
- Icons and UI elements — must scale across different screen densities (1x, 2x, 3x)
- Line art and illustrations — simple graphics with clean edges and flat colors
- Diagrams and charts — shapes and text that need to stay crisp
- T-shirt and print designs — print shops often require vector files for quality output
When NOT to Convert to SVG
Vectorization is not a magic wand. Some images are better left as raster files:
- Photographs — complex scenes with millions of colors produce enormous, unusable SVGs
- Highly textured images — textures like wood grain or fabric create thousands of tiny paths
- Screenshots — text rendering and UI details do not vectorize well
For photographs, consider using SVGSnap's Image Upscaler instead to enhance resolution while keeping the raster format.
How Does Image Vectorization Work?
When you convert a PNG to SVG, the software analyzes the pixel data and traces the boundaries between colors and shapes. This process is called vectorization or image tracing. Here is what happens under the hood:
- Color analysis — the algorithm identifies distinct color regions in the image
- Edge detection — boundaries between different color regions are identified
- Path tracing — smooth curves (Bezier paths) are fitted along the detected edges
- Optimization — redundant points are removed to reduce file size while maintaining shape accuracy
SVGSnap uses vtracer, an advanced vectorization engine that produces clean, optimized SVGs with minimal file size.
How to Convert PNG to SVG with SVGSnap
Converting an image takes less than 30 seconds:
- Upload your image — drag and drop or click to upload any PNG, JPG, or WebP file
- Adjust settings — choose your color mode (full color or limited palette), detail level (low, medium, high), and smoothing
- Convert — click the convert button and wait a few seconds
- Download — preview the result and download your SVG file
That is it. No account needed, no watermarks, completely free.
The best SVG is not the most detailed one — it is the one that captures the intent of the original image with the fewest paths.
— SVGSnap Team
5 Tips for Better SVG Output
Getting a good conversion is part science, part art. These tips will help you get the cleanest results:
1. Start with the highest resolution possible
More pixels give the vectorizer more data to work with. A 1000px logo will produce a much cleaner SVG than a 100px version. If your source image is low resolution, use the Image Upscaler first to enhance it before converting.
2. Remove backgrounds before converting
Transparent backgrounds produce cleaner SVGs. Noisy or textured backgrounds create hundreds of unnecessary paths that bloat file size.
3. Choose the right color mode
For logos and simple graphics, a limited color palette produces smaller, crisper SVGs. For detailed illustrations, use full color mode to preserve gradients and subtle tones.
4. Match detail level to your image
Higher detail is not always better. Simple icons look best with low detail (cleaner curves). Complex illustrations need high detail to preserve fine elements.
5. Use smoothing wisely
Smoothing reduces jagged edges and creates flowing curves. Too much smoothing can lose small details. Start with the default and adjust based on the preview.
SVG Benefits for Web Performance
Beyond scalability, SVGs offer significant advantages for web performance:
- Smaller file sizes — a simple logo SVG can be 2-5 KB vs 50+ KB as a retina PNG
- No multiple resolutions needed — one SVG replaces your 1x, 2x, and 3x PNG assets
- CSS and JavaScript control — animate, color-change, and interact with SVG elements directly
- SEO friendly — text in SVGs is searchable and accessible to screen readers
- HTTP/2 inlining — small SVGs can be inlined directly in HTML, eliminating extra network requests
Start Converting Today
Ready to turn your PNG and JPG files into clean, scalable SVG vectors? Try SVGSnap's free converter — no signup required, no file limits, no watermarks. Just drag, drop, and download.
Have a low-resolution image? Use our Image Upscaler first to enhance it, then convert the upscaled version for the best possible SVG output.